
Custom Menu Builder Guide
Create Your Perfect Navigation
The Synaptik CMS Menu Builder lets you create custom navigation menus without editing code.
Accessing the Menu Builder
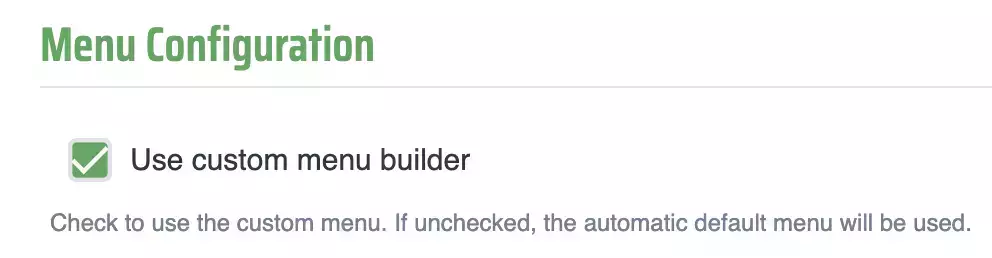
Navigate to Appearance > Menu Builder. Check the 'Use Custom Menu' checkbox to activate the menu builder.
Adding Menu Items From Existing Content
To add new menu items from Pages, Articles, Projects, Tags or Archive Pages: just click on 'Add Content Link' at the bottom. Choose the content type, then in the second dropdown, choose the item to display.
Select the nesting level (Parent Menu Item) for the new item, then click 'Add to Menu'.
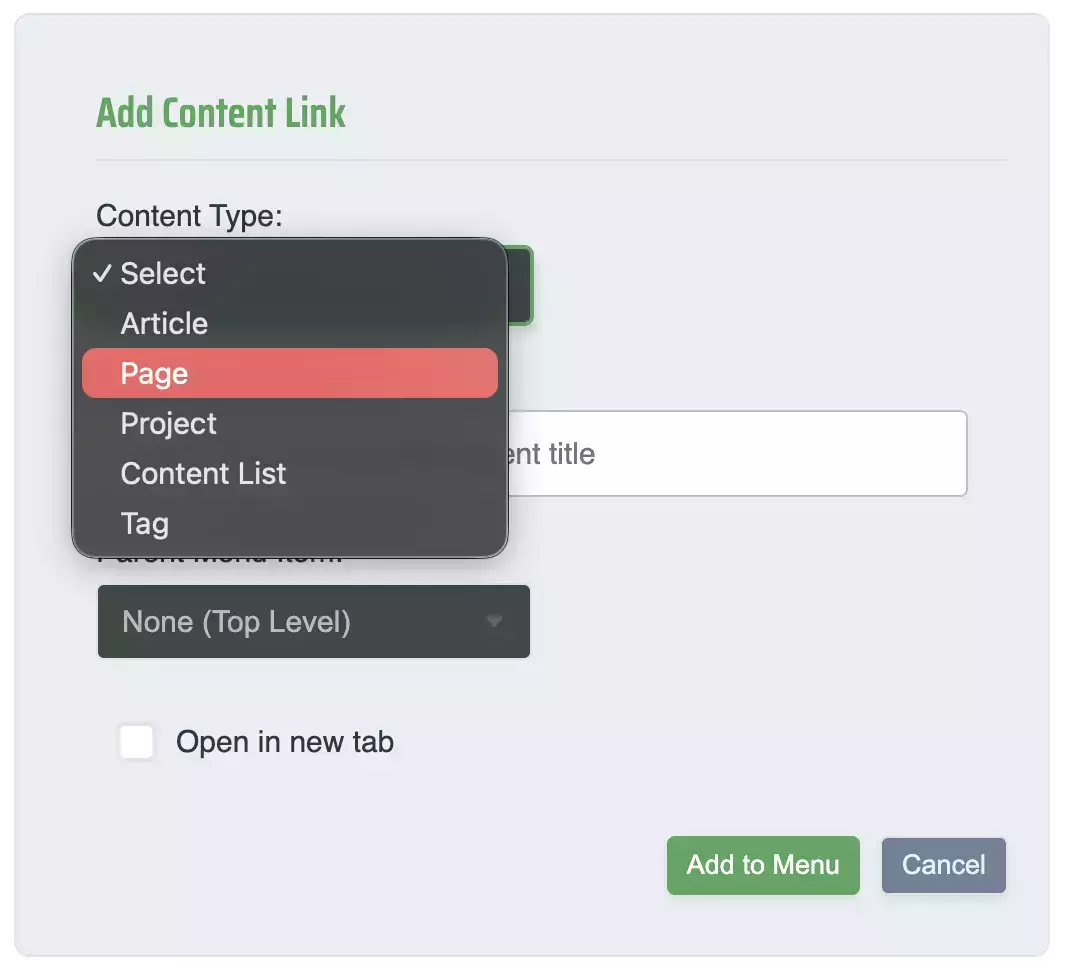
You can select a parent category or leave your new menu item as a Top Level item.
Adding Custom Links to the Navigation
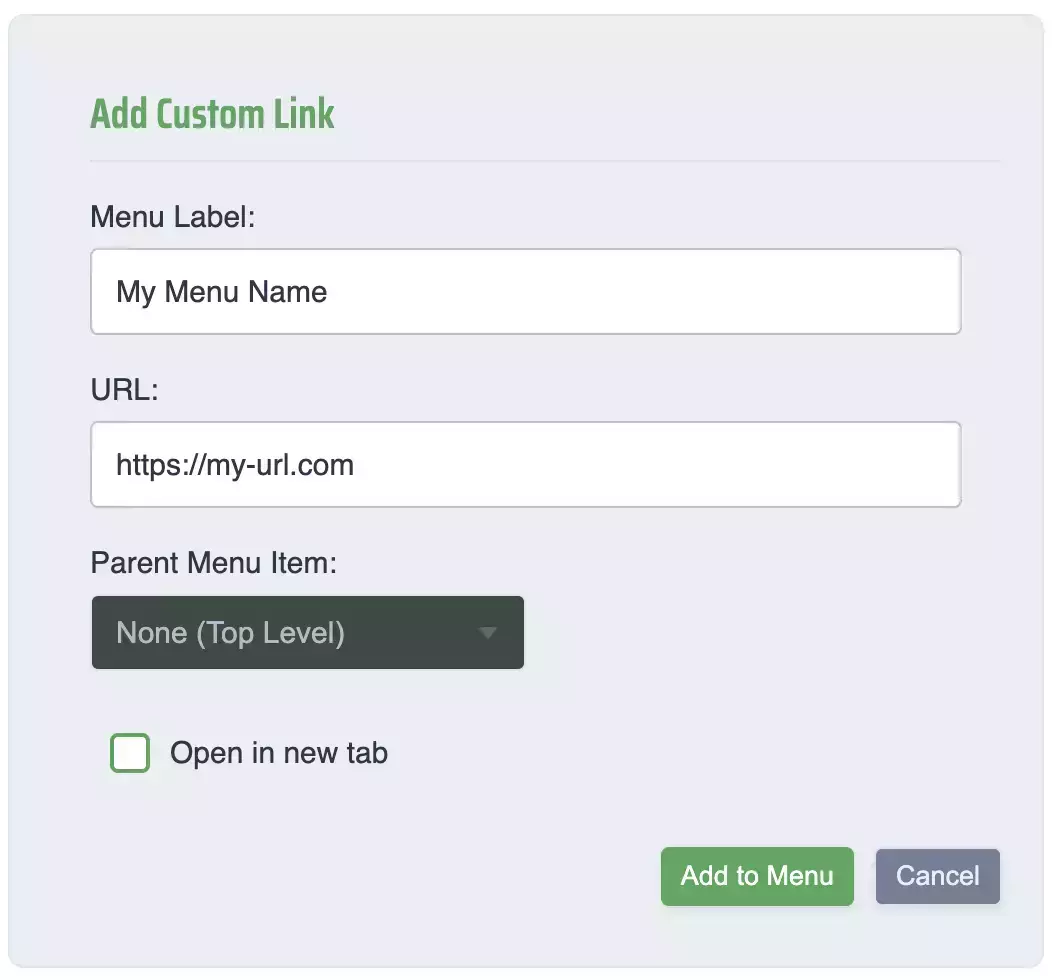
Click 'Add Custom Link', add the name displayed in the nav, then the link. You can opt to open this link in a different window.
Select the nesting level for the new menu item, then click 'Add to Menu'.
Organizing Menu Items
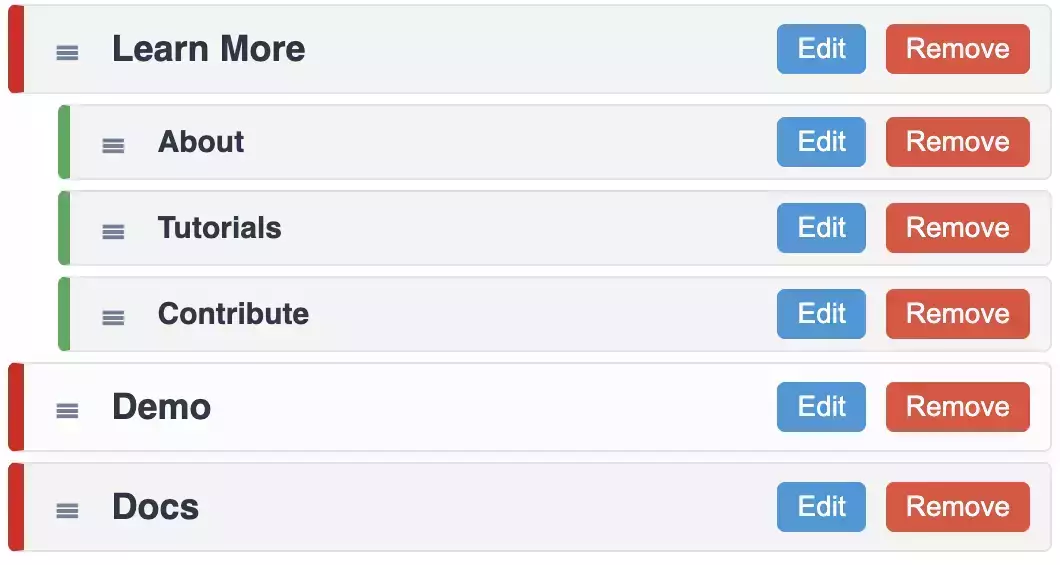
Drag menu items to reorder them. Grab the little handle at the left of the menu item, then drag it to the desired place in the structure. The visual preview updates as you make changes.
Saving Changes
Click 'Save Settings' after making menu changes. Your new menu structure takes effect immediately.