
Adding New Translations
Synaptik CMS is delivered out-of-the-box with 3 locales: English, French and Spanish.
You can add new languages to your Synaptik CMS installation, or edit existing translations, directly from the admin panel — no code editing required.
Updated Translation Editor
Go to Admin → Translations to access the built-in Translation Editor.
The editor covers both translation scopes independently:
- Front-end — all strings displayed on your public site (menus, buttons, form labels, URL slugs, etc.)
- Back-end — all strings displayed in the admin panel itself
Switch between scopes and locales using the selectors at the top of the page. For each string, you'll see the key, the English reference value, and an editable field for the current locale. Missing translations are highlighted automatically, and a live counter tracks how many strings still need attention.
Edit as many values as you like, then click Save — only the changed strings are written to disk. If a translated string is missing a placeholder present in the English reference (like %s or %d), the editor flags it so you don't ship a broken string.
Adding a new language
Click New locale in the Translation Editor toolbar. Enter:
- A locale code (e.g.
kofor Korean, orpt_BRfor Brazilian Portuguese) - A display name for the language
- Whether to create it for both the front-end and the admin panel, or just the currently selected scope
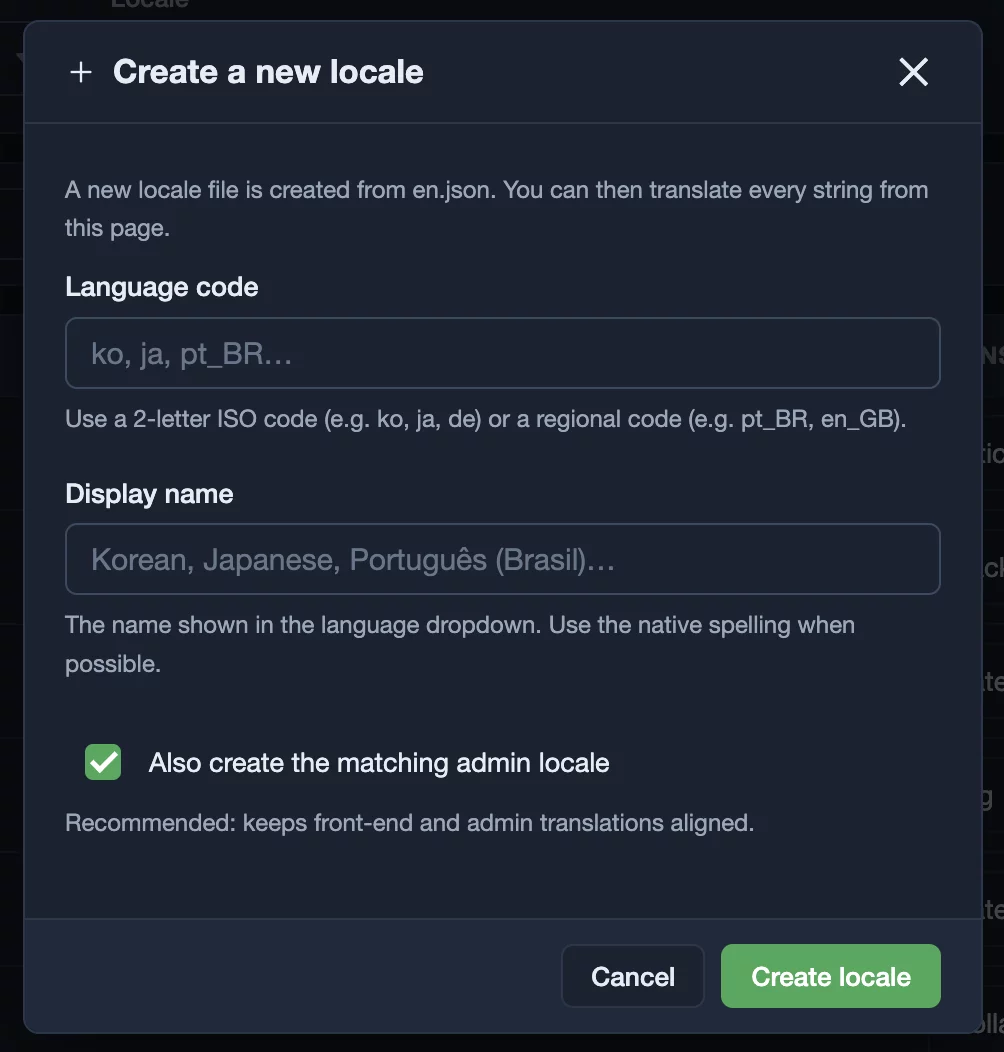
This duplicates en.json under the new locale code, so every key is guaranteed to exist from the start — you just fill in the translated values afterward. Once created, go to Settings → General and select your new locale from the dropdown to activate it on the front-end.
Manual method (advanced)
You can still edit locale files directly via FTP or SSH if you prefer:
- Open the
/lang/folder. It contains both the front-end and the admin translations. If you are looking to translate the backend, open/lang/admin/. - Duplicate one of the languages and rename it to the new locale you want to add. For example, duplicate
en.jsonand call itko.jsonfor Korean localization. - Translate the strings.
- Place the new translation in the appropriate folder (
/lang/for front-end strings or/lang/admin/for back-end strings). - Go to Settings > General and select your new locale from the dropdown.
Contribute
If you would like to contribute to Synaptik CMS' improvement and share your translations, please visit the discussions page on GitHub and submit your translation.